
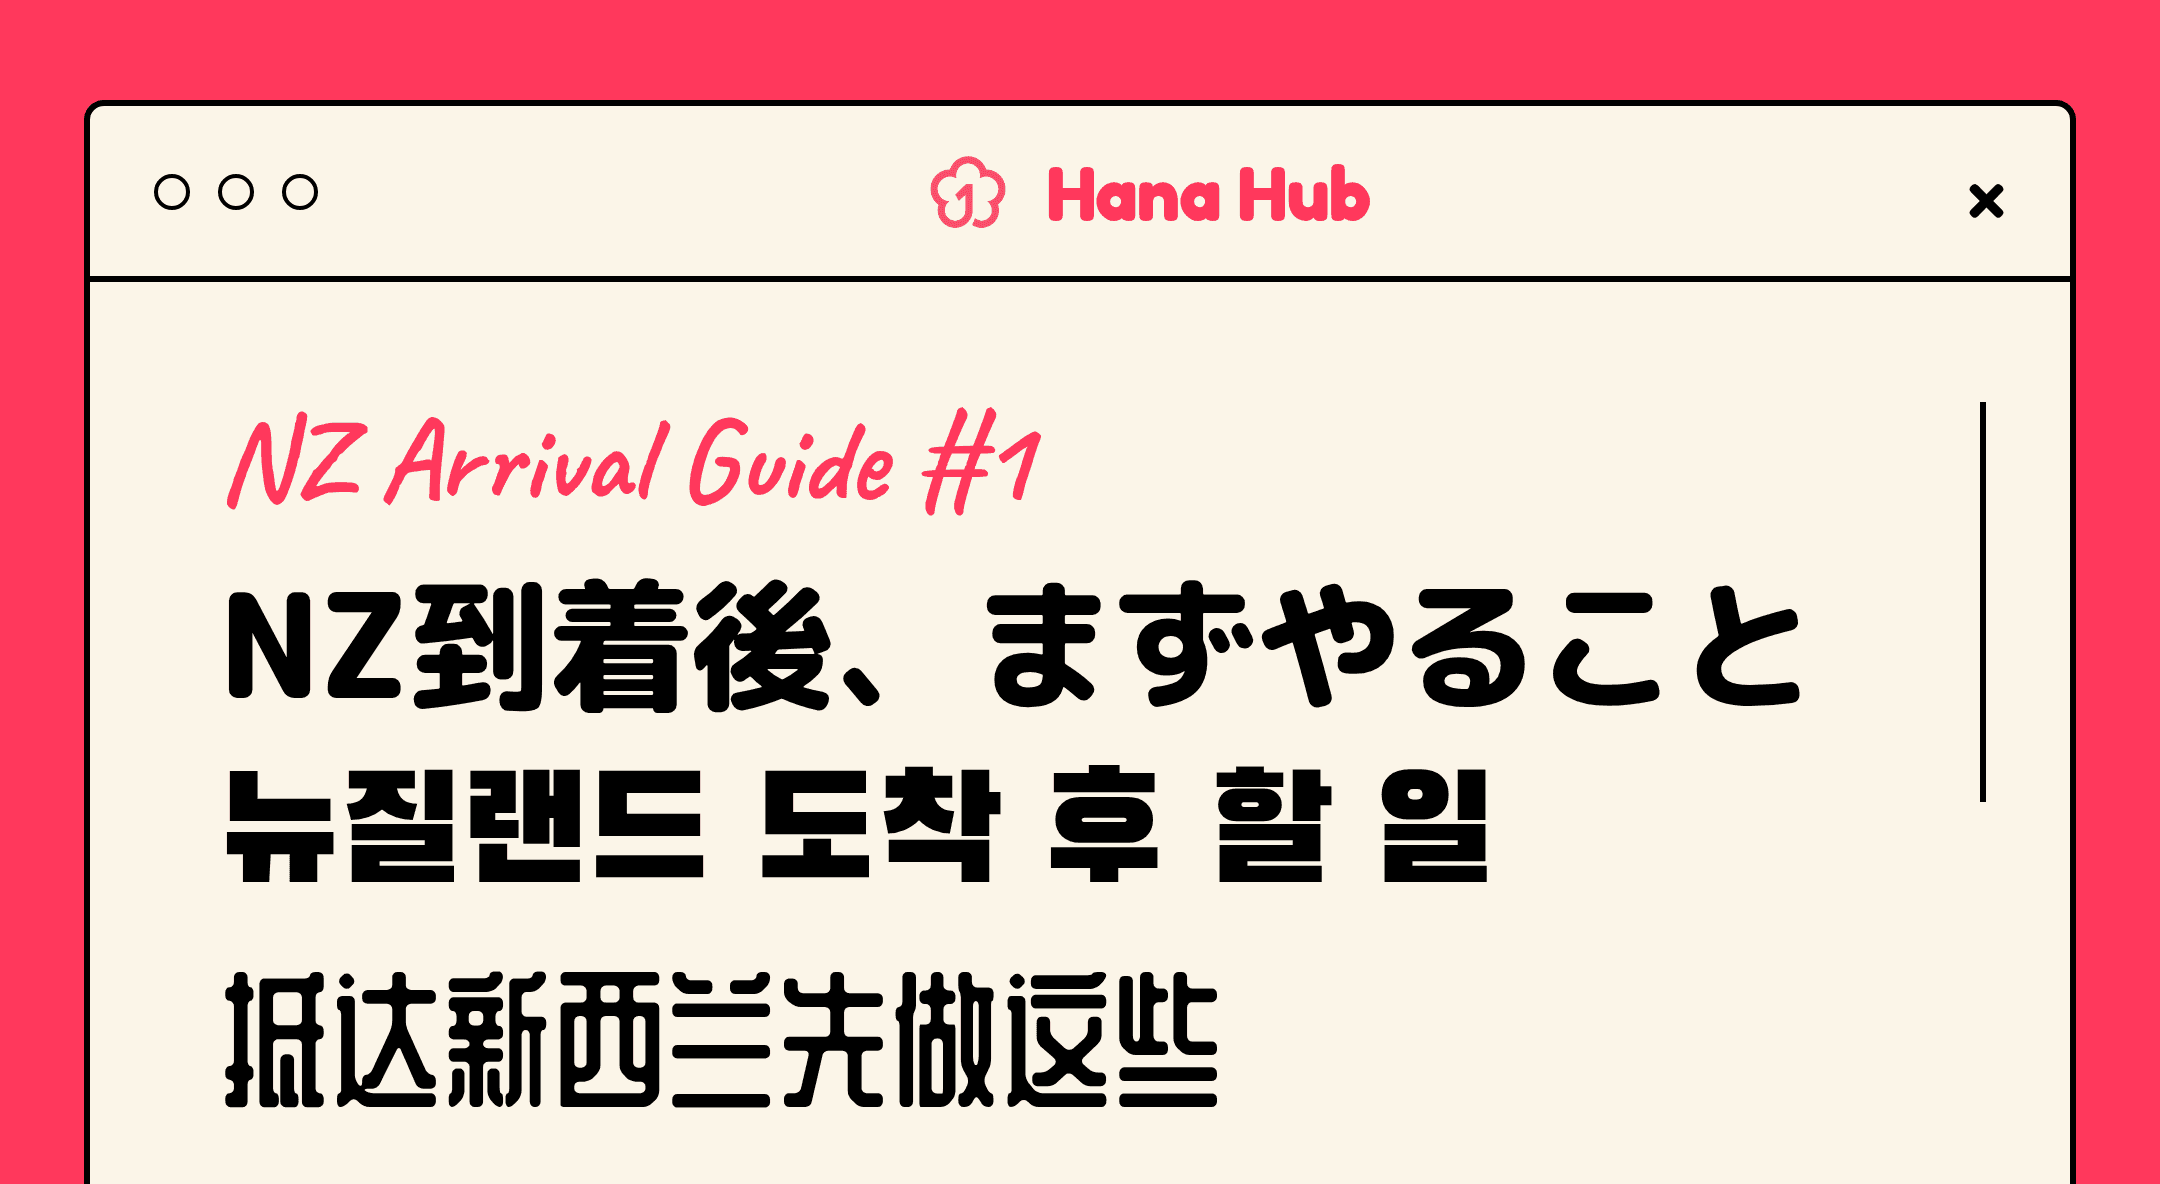
What to Do After Arriving in New Zealand
Edited Jun 17, 2026
The Very First Things to Do Right After Arriving in New Zealand
Don’t overcomplicate settling into New Zealand. We’ve organized just the things you need to take care of in your first week after arrival.
You’ve finally arrived. A flight of over 11 hours, the immigration line, and even that slightly intimidating biosecurity inspection. Welcome to New Zealand 🇳🇿
Honestly, the first few weeks after arriving are hectic. Starting with a SIM card, then a bank account, an IRD number, a transport card, and even finding people you can rely on — there’s a lot to do. So we prepared this for you. We’ll walk you through the five things you absolutely need to take care of in your first week, in order.
This article is the detailed version of the NZ Arrival Guide carousel posted on Hana Hub’s Instagram. Bookmark it, or share it with a friend who’s heading to New Zealand soon.
1. First of all, get a SIM card
Whatever you do, you need to get connected to the internet first. You’ll need Google Maps, you’ll need to call an Uber, and you’ll probably need to message your accommodation host, “I’m on my way now.” There is airport Wi-Fi, but you probably won’t have the luxury of hunting for a hotspot while trying to figure out which bus goes into the city.
New Zealand’s three major mobile carriers are Spark, One NZ, and 2degrees. All of them sell prepaid SIM cards at Auckland Airport (arrival gate) and Christchurch Airport, and you can also buy them at supermarkets or convenience stores like Countdown, Pak'nSave, and New World.
A quick summary of which one is good:
- Spark: The biggest carrier. Best coverage if you’re going to rural areas or taking a road trip. A bit more expensive, but if you plan to go outside the city, this is the right choice.
- One NZ (formerly Vodafone): Strong nationwide coverage, and the prepaid plans are good value too.
- 2degrees: The cheapest of the three. Excellent in cities (Auckland, Wellington, Christchurch), but weaker in rural areas.
- Skinny: A budget brand that uses Spark’s network. Recommended if your budget is tight and you’ll only be staying in cities.
2. Open a bank account
To receive your salary, pay rent and utilities, and even shop online — you’ll need a New Zealand bank account for almost everything. Fortunately, the process isn’t difficult, but in most cases you need to visit a branch in person, and it’s better to make an appointment in advance. If you just show up, you may end up waiting a long time.
The four major banks are ANZ, ASB, BNZ, and Westpac. Their features and fees are all fairly similar, so most people simply choose the bank that has a branch close to where they live.
Documents you should bring:
- Passport (including your New Zealand visa)
- Proof of New Zealand address: A tenancy agreement, a utility bill in your name, or a signed letter from your landlord will work. Be careful, though — some banks do not accept hostel addresses (especially ASB).
Tip: ANZ has the best system for opening an account in advance from overseas. If you have a few weeks before departure, you can apply online, then after arrival just stop by a branch with your passport to activate it. If you can plan ahead, this is the smoothest option.
3. Apply for an IRD number
An IRD number is New Zealand’s tax ID. You must get it before you start working.
Why is it important? If you start working without an IRD number, your employer is legally required to withhold tax at the 45% “non-declaration rate.” That means nearly half your pay disappears before you even receive it. The same applies to bank interest — if your IRD number is not registered, 45% will be deducted.
How to apply:
- Go to ird.govt.nz and apply online
- You’ll need your passport, visa information, New Zealand address, and a New Zealand bank account (or other proof of identity)
- It usually takes about 10 business days, sometimes faster
It’s free, the whole process is online, and once you get it, that number is yours for life. Even if you leave and come back years later, you’ll use the same number.
4. Get a transport card — AT HOP card (or a regional equivalent)
If you’re settling in Auckland, the AT HOP card is essential. You use it for buses, trains, and ferries. Without the card, you pay the full cash fare, which is quite a bit more expensive. With the card, you get discounted fares, and transfers to other transport within a certain time period are also free.
Where to buy it:
- AT customer service centers (the main one is Britomart in the city center)
- Some convenience stores or ferry terminals
- The card itself costs about NZ$5, then you top it up and use it
You can top up and check your balance through the AT Mobile app, but there’s one thing you should know. Even if you top up in the app, it can take up to about 1 hour for the balance to be reflected on the actual card.
Fortunately, these days you can also use contactless credit/debit cards like Visa and Mastercard on most buses, trains, and ferries. It’s good to know this as a backup option in case your AT HOP card balance is low or you forgot to top it up.
What about other cities? In Wellington, it’s the Snapper card, and in Christchurch, it’s the Metrocard. The system is the same — only the names are different.
5. Find people you connect with
Living alone in a foreign place can sometimes feel lonely and frustrating. That’s why it’s really important to find people in a similar situation who can help and support each other. For example, someone who knows good restaurants and nice cafes, or people who can share job-hunting tips or practice together with you, can be a huge help.
That’s why Hana Hub was created. It’s a platform for the Korean and Japanese communities settling in New Zealand. It brings together jobs, share houses, secondhand trading, events, and even real local information you could never find on Google.
Whether you’re looking for a job, searching for a place to live, need secondhand items, or just want to know what’s happening this weekend — start with Hana Hub.
First-week settlement checklist
Bookmark this list and check things off one by one:
- ✅ SIM card: Choose between Spark, One NZ, and 2degrees at the airport or supermarket
- ✅ Bank account: ANZ, ASB, BNZ, Westpac (visit after making an appointment)
- ✅ IRD number: Apply for free at ird.govt.nz, about 10 business days
- ✅ Transport card: AT HOP (Auckland), Snapper (Wellington), Metrocard (Christchurch)
- ✅ Join Hana Hub: Jobs, share houses, secondhand trading, and events at hanahub.co.nz
- ✅ Follow on Instagram: @hanahubnz
Settle in, together.
New Zealand does take a little time to get used to at first. But it really is a great place to live. Life moves more slowly, the air is cleaner, and people are kinder than you might expect. Give yourself a few months and find your own rhythm.
Wishing you a smooth and safe settlement.
General Information Only
The information in this article is for general informational purposes only and does not constitute professional legal, financial, immigration, or employment advice. Hanahub NZ makes no warranties regarding the accuracy or completeness of this content. Always seek qualified professional advice before making important decisions.